How to Shoot Great Food Photography at Home
As photographers, we’re always looking for ways to practice new skills and hone our craft.
While food photography might seem like one of the more complex disciplines to tackle on your own—stylists and props and chefs, oh my!—we all have to eat, and we all (hopefully) have a kitchen at home.
So why not get creative with the things you have around you and try your hand at a food photo shoot? If you can think outside the box a little, there’s a good chance you’re already better equipped for food photography than you might think.
Here are a few things to think about when converting your home into a food set.
Food Photography Tip #1: Lighting is (still) everything
As with any subject, it doesn’t matter how beautiful the food you're photographing is if you don’t have good light.
Commit to getting to know the light in your home. Try to let go of your ideas about what’s good or bad about your space; look at it with fresh eyes and just explore. Pay attention to where light falls first thing in the morning, where the bright patches are at midday, and where the last rays disappear from in the evening.
Don’t feel limited by the kitchen for your food photographs either. The coffee table might make for an interesting surface, or the top of a bookshelf might get a glorious puddle of golden hour light. Grab your meter (you are using a handheld meter, right?) and take readings all over you place.
Natural light can give your food photos an authentic feel.
Photo by ready made · View Photo
Let go of the need to control the scene and just be curious and open to whatever possibilities may present themselves.
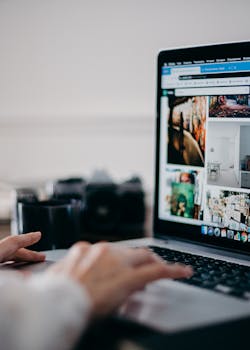
Shooting indoors can be a challenge, and using your own home as a setting can provide the perfect opportunity to learn new lighting techniques. Try bouncing an on-camera flash off the wall for some soft, directional light. Or attach a flash to a stand in one corner of the room and move around it, trying different angles and intensities.
One of the easiest ways to add more light is to grab a light-colored pillowcase and use it to reflect some window light back onto your subject. Put a neutral-colored bulb in a table lamp and move it around, or put the kitchen table where the couch used to be because that’s where the biggest window is.
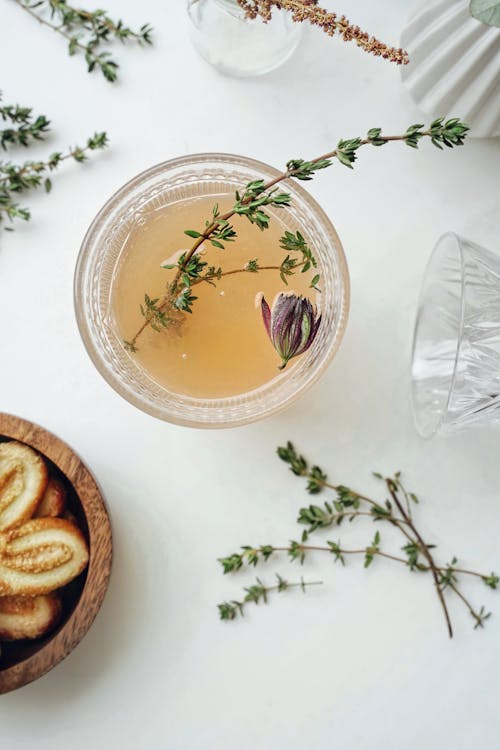
Fresh herbs make excellent props.
Photo by Olena Bohovyk · View Photo
Food Photography Tip #2: Props are what you make of them
You don’t need a massive collection of vintage silver or 12 place settings of white china for beautiful food photography. This is a chance to get resourceful.
A drawer full of mismatched cutlery can provide interest and contrast. Serving dishes in different sizes and colors can be the starting point for a variety of different looks. A large cast iron skillet or Dutch oven set on the table, still steaming, can give your food photos a simple, timeless tone. From there you might just need an artfully rumpled napkin or tea towel on one side and a fork and spoon on the other to round out the scene.
A single plate waiting next to a pie lifter holding the first tantalizing slice of apple pie can be bright and warm, conveying the anticipation of that first bite, nothing else needed. Or just set the dish on the table and try as many different combinations of props as you can think of until you find the perfect set up.
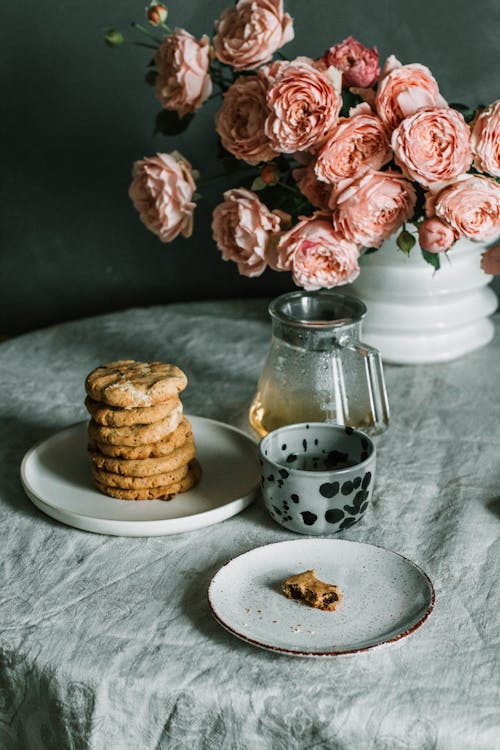
Fresh flowers and a textured tablecloth nicely complement these cookies.
Photo by Marta Dzedyshko · View Photo
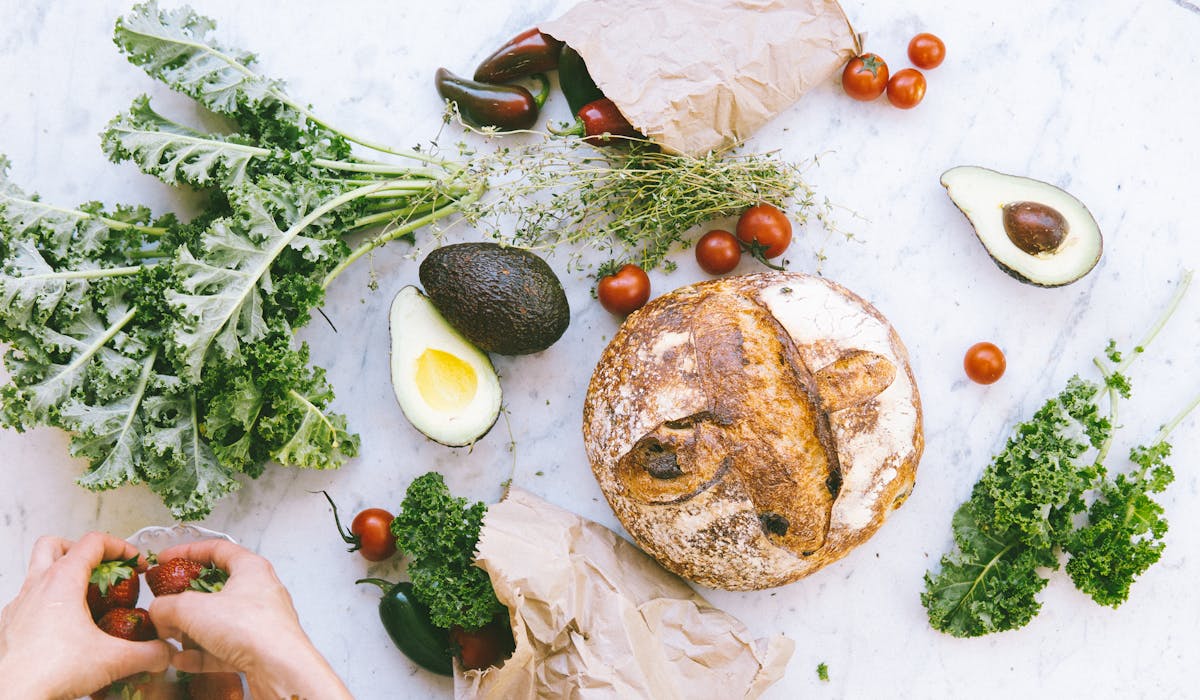
Further to not fretting about fancy accoutrements, don’t fret about fancy food either. Expensive doesn’t necessarily mean attractive, and working with whatever you’ve got in the fridge is in keeping with our theme here.
Look for fresh things, colorful things, textured things—and don’t forget about condiments. Got a plastic bottle of bright yellow mustard? Squeeze a few dollops into a small mason jar and add it to the frame. Soak the label off a glass spice jar to class it up and reveal what’s inside.
The same curiosity that will help you find the light in your home will help you to see the potential in your refrigerator.
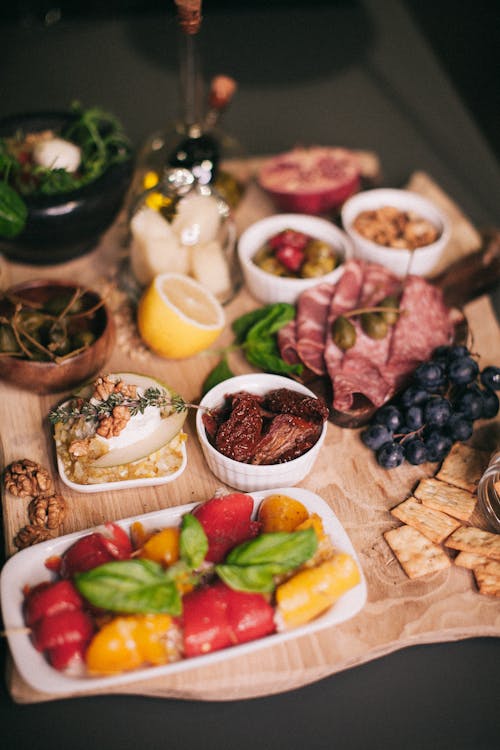
Put together a snack platter for a mouth-watering shot.
Photo by Lina Kivaka · View Photo
Food Photography Tip #3: Make it a group project
Embrace the human element and enlist the help of your roommates, family members, or significant other. Food photography doesn’t have to be sparse or distant. Adding people can give context and life to your shot. Include the people who made the food in the frame and watch how the emotional tenor of the photo changes.
Your roommates might not be super keen to let you practice your portraiture skills on them, but they just might be willing to hand model for a food serving shot, or help out with baking their favourite dessert. Try cooking something you all love together, and documenting each step of the process. You don't need any experience to capture someone's connection to a meaningful dish.
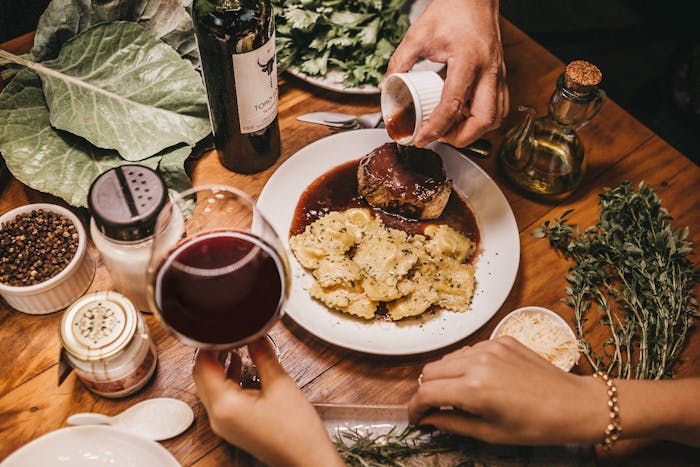
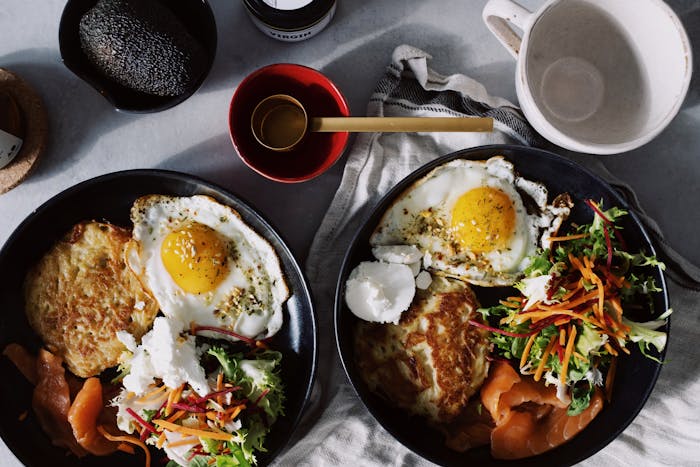
Capture dinner in action for an interesting composition.
Photo by Jonathan Borba · View Photo
Having another person present at your food photo shoot to help not only provides a subject, it also frees you up to observe the different stages of cooking and see new possibilities. Look for the color palette created by the ingredients while your assistant chops and preps. Decide if the scene needs an element of contrast. Or perhaps the frame is cluttered and you need to remove some objects from the counter top.
Incorporate movement by slowing your shutter speed to blur someone moving from the table to the stove. Then lay out your favorite dishes, add a few props to the table, and photograph your friends sharing the meal. Even if the images don’t turn out magazine-worthy the first time, you’ll have some beautiful photos of people you care about enjoying each other’s company.
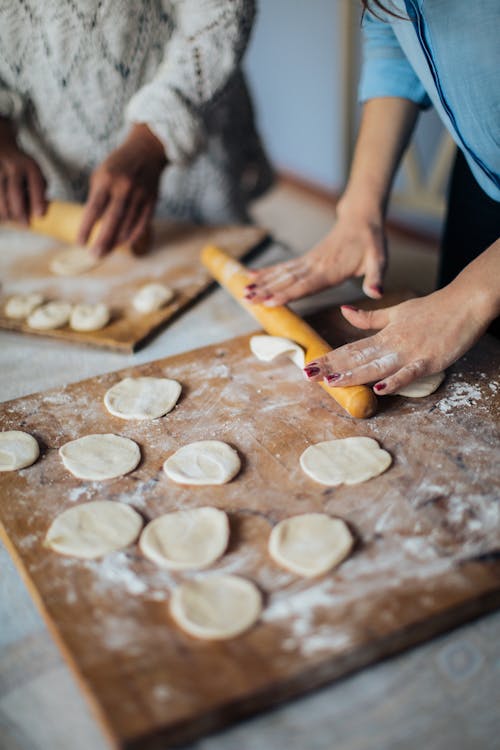
Detail-oriented food photos can show the process behind a dish.
Photo by Elina Fairytale · View Photo
Food Photography Tip #4: Limits can lead to creativity
As with any creative endeavor, the most striking results often happen as a result of limiting the brief. While shooting food in your own kitchen might seem challenging, the limited setting and subject possibilities a home shoot provides can actually encourage more creative results. Setting certain parameters on a project forces you to adapt and think outside the box.
Whether you’re a fine-art wedding photographer or a documentary-style family photographer, even if you do commercial work, you’ll never have complete control over your shooting environment. Challenging yourself to work with whatever you’ve got on hand will teach you to stretch your creative muscle and think on your feet to solve whatever problems arise.
Just remember, this is a chance to experiment, see what’s possible and see what inspires you. Good luck!
Written by Erin Flegg · Apr 02
Vancouver-based film photographer, specializing in lifestyle family and branding