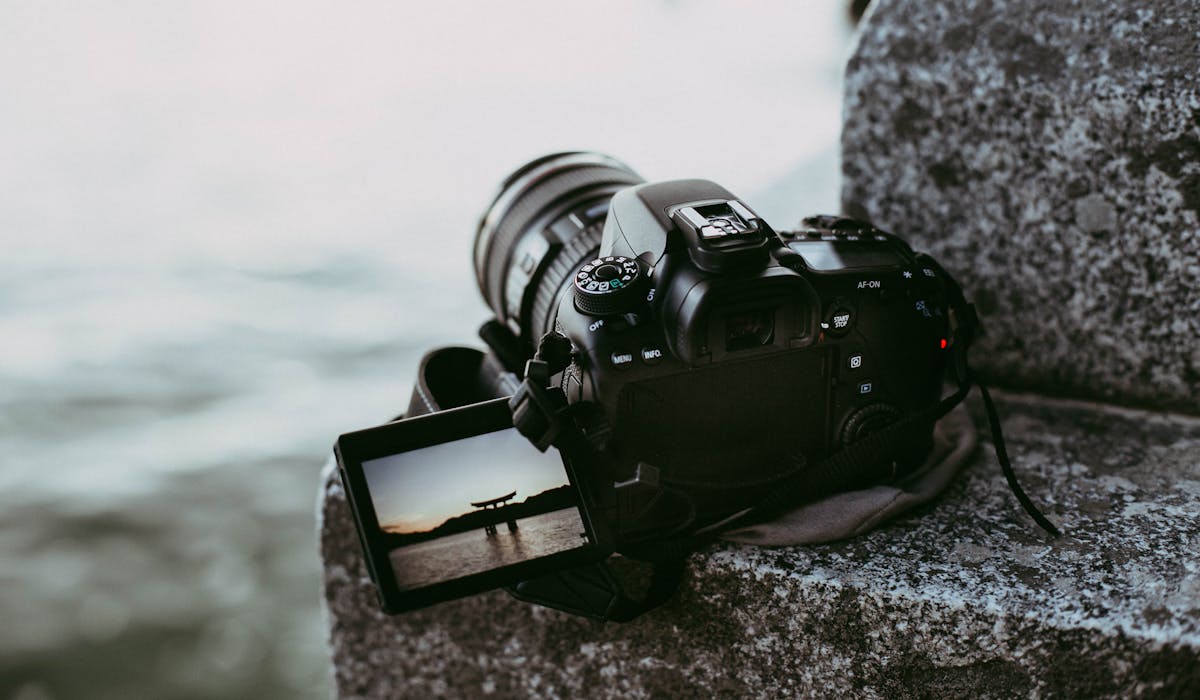
We might be living in the age of the “mirrorless revolution,” but in 2021, good, old-fashioned DSLR cameras remain a go-to upgrade for photography enthusiasts hoping to level up their skills.
These cameras are rugged and durable, they have stellar battery life, and they use an optical viewfinder, meaning you can look through the lens with your own eyes. When it comes to upgrading from a point-and-shoot, you still can’t do much better than a DSLR.

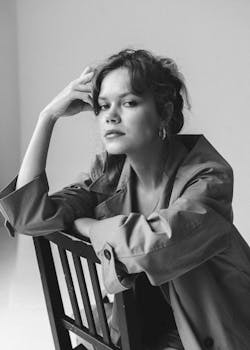
Rachel Claire uses the Canon EOS 6D to create this portrait, with a focal length of 50mm, an aperture of f/1.8, and ISO 100.
Photo by Rachel Claire · View Photo
Today, more people than ever are taking photographs, and watching them learn is part of what inspires the photographer and best-selling author Tom Ang, who has been teaching photography for more than forty years. He says it can take several years for his students to come into their own and accept that they are creating an image, not simply taking it. When they do, it’s priceless.
Unlike merely pressing the shutter button to take a standard snapshot, creating a photograph is the deliberate and intentional process of choosing what to include in the frame and how to use those elements to construct a compelling story or evoke an emotion. Of course, part of that process lies in understanding your camera. If you’re shooting in auto mode 100% of the time, you might not be getting the most out of your camera—or fully expressing your creative vision.
While the features of a DSLR might seem overwhelming at first, they’re actually pretty straightforward once you break them up into smaller, more manageable parts. In this article, we’ll cover the fundamentals of using your DSLR and taking full advantage of all it has to offer.
Shooting modes
Your aperture, shutter speed (also known as exposure time), and ISO—collectively called the “exposure triangle"—are the three key settings that control how bright or dark your image is, among other things. Opening your aperture will let in more light and narrow your depth of field, while slowing your shutter speed (lengthening your exposure) will allow in more light and add motion blur. Bumping up your ISO will make your photos brighter but also increase digital noise.
On your DSLR, your shooting mode determines how much control you have over these three settings.
Auto mode
If you shoot in Auto, your camera will choose the aperture, shutter speed, and ISO it “thinks” will work based on the lighting. That usually works, but it doesn’t give you control over elements like depth of field, motion blur, or noise. Plus, if your camera gets it wrong, you could end up with a blurry subject or other unexpected issues.
Program mode
A step up from Auto is Program mode. When you’re shooting in this mode, the camera will still choose your aperture and shutter speed, but you can adjust your ISO to change the brightness or level of noise in your photo.
Aperture Priority/Shutter priority modes
When they aren’t working in manual mode, you’re most likely to find professional photographers shooting in a semi-automatic mode like Aperture Priority or Shutter Priority. These modes are exactly what you’d guess. In Aperture Priority, you set the aperture, and your camera chooses an appropriate shutter speed to go with it. In Shutter Priority, the reverse is true. Use the former when you want to control depth of field and the latter when you want to control motion blur.
Manual mode
Finally, there’s manual mode, which puts everything into the hands of the photographer. It’s up to you to adjust the settings for a proper exposure, but you also have full creative control over the final image. Without a thorough understanding of exposure, you run the risk of getting an image that’s too light or too dark, but once you get the hang of it, there’s nothing like manual mode.
If you haven’t yet read our Beginner’s Guide to the Exposure Triangle, it could be helpful to do so before choosing the shooting mode that’s best for you.
The histogram
Your camera’s histogram is a saving grace when it comes to exposure. It’s a visual representation of the tonal distribution of your image, from pure blacks to pure whites and everything in between. The histogram will show you if your image is too dark, too light, or just right. You’ll see the shadows represented on the left side of the graph and the highlights on the right, with the midtones in between.

Spencer Selover creates a blue hour portrait with the Nikon D610, a focal length of 17mm, an aperture of f/40, a shutter speed of 1/125 seconds, and ISO 1250.
Photo by Spencer Selover · View Photo
For the most part, you’ll want a nice, balanced curve running edge-to-edge (some compare it to a mountain); if your histogram is pushed too far to the left, your photo is underexposed. A histogram shoved too far to the right represents an overexposed photo. Looking at the histogram throughout a shoot can help you better understand your exposure and adjust your settings in real time.
Metering modes
Changing your metering mode will “tell” your camera how to determine exposure and what areas of the image to focus on. In general, you’ll find three main options for metering mode: evaluative mode, center-weighted mode, and spot metering, though the terms might vary based on the manufacturer.
Evaluative mode
Evaluative mode, as it’s called on Canon cameras (Matrix mode for Nikons), takes an “average” reading of the entire frame and exposes based on everything it sees: the lights, the darks, the mid-tones. While evaluative mode might work well in situations with consistent lighting, your camera might struggle with it in high contrast environments. That’s where center-weighted mode and spot metering come into play.

Bianca Gonçalves combines the Canon EOS Rebel T6i with a 50mm lens, using an aperture of f/1.8 and ISO 100.
Photo by Bianca Gasparoto · View Photo
Center-weighted and spot-metering modes
In center-weighted mode, your camera will take into account only the center of your frame when calculating exposure. Spot metering works by allowing the photographer to meter off of an even smaller portion of the image while disregarding the rest. An example of where you might use either of these modes over the default evaluative mode would be if you’re photographing a spotlighted musician on stage at a concert: you want the musician to be perfectly exposed and the background to fall away into darkness.
Focusing modes
Although the names might vary, your DSLR likely comes with four main focusing modes: Single, Continuous, Automatic, and Manual.
One-Shot AF/AF-S
One-Shot AF, as it’s called on Canon cameras (AF-S for Nikon), allows you to depress the shutter halfway and focus on your subject. In this mode, your focus is locked. It’s perfect for stationary objects, but if you or your subject move, you run the risk of ending up with an out-of-focus shot.
AI Servo AF/AF-C
AI Servo AF and AF-C represent Continuous focusing modes on Canon and Nikon cameras, respectively. When you depress the shutter halfway in this mode, your camera will focus on your subject, and it’ll track it and refocus as it moves throughout the frame. For sports and wildlife photography, where the subject is constantly in motion, this mode is the way to go.
AI Focus AF/AF-A
AI Focus AF on Canon and AF-A on Nikon are fully automatic modes. By choosing this mode, you leave it up to your camera to decide if One-Shot AF or AI Servo AF will work best for your subject. Sometimes your camera gets it right, and sometimes it’ll get it wrong. In this mode, you have the least control.
Manual focus mode
Finally, in manual focus mode, you do everything the old-fashioned way, as you did in the days of film. You make your own measurements and calculations and focus accordingly. Most photographers will use this mode when they need the most accurate focus possible and can’t leave it up to chance. Manual is also the go-to mode for astrophotographers documenting faraway stars and planets.

Hamid Tajik created this portrait using the Nikon D7500 and a 50mm lens, set at f1.8, 0.0005 sec, and ISO 125.
Photo by Hamid Tajik · View Photo
Autofocus points
When telling your camera where to focus, you use autofocus (or AF) points. While many cameras have eleven autofocus points, some boast 51 or more. A general rule is that the fancier your camera, the more autofocus points you’ll have. Depress your shutter, and your camera will show you where it’s focusing by indicating these focus points (or squares).
Depending on your needs, you could have your camera choose an autofocus point, or you could adjust it yourself. The latter works best in most situations because your camera won’t always be able to guess where your subject is within the frame.

Tatiana photographs a misty landscape using the Nikon D60, a focal length of 50.0mm, aperture of f/11, shutter speed of 1/500 sec, and ISO 800.
Photo by Tiana · View Photo
Focal length
Your lens’s focal length measures the distance (in millimeters) between its optical center and the camera’s image plane, when the lens is focused to infinity. In practical terms, the important thing to know is that it determines your lens’s angle of view.
As a rule, the shorter the focal length, the wider the angle of view; in other words, a 28mm lens will capture a much broader view of the same scene than a 500mm lens. Ultra-wide lenses (24mm and wider) offer the broadest view, but they also come with a tradeoff: distortion.
On the other hand, longer focal length lenses, like a telephoto (70mm-300mm), will make objects within the frame appear larger or more magnified. That’s why they’re the preferred choice of wildlife photographers, who work with faraway subjects.
A lens with a fixed focal length, like a “nifty fifty,” is called a prime lens. The only way to zoom with these lenses is to move closer to or farther away from your subject. A zoom lens allows you to vary your focal length to fit the scene. The tradeoff is that you usually get better optical quality with a prime.

Luriko Yamaguchi uses the Canon EOS Rebel T5i with a 50mm focal length, f/5.6 aperture, and ISO 200.
Photo by Luriko Yamaguchi · View Photo
Crop factor
While your focal length is a property of the lens and remains the same regardless of your camera, your choice of camera will affect your field of view, based on its sensor size. When camera shopping, you have the choice of a full-frame sensor, which is the same size as 35mm film, or a cropped sensor. A cropped sensor means a narrower field of view.
Sometimes, you’ll hear photographers refer to “true focal length” versus “equivalent focal length.” If you’re using a full-frame camera, these two measurements are the same. If you’re using a cropped sensor, the “true focal length” still refers to the number written on the lens, but the “equivalent focal length” can be used to describe the “35mm equivalent” field of view of your lens, which comes in handy if you’re used to shooting with a full-frame camera.
Camera manufacturers will give you a crop factor based on the sensor size to help you calculate this equivalent focal length for different lenses. As an example, if you have a camera with a 1.5 crop factor, and you combine it with a nifty fifty, your true focal length will still be 50mm, but your field of view would be equivalent to what you’d have if you used a 75mm lens on a full-frame camera.

George Sistonen uses the Nikon D750 to create this portrait, with a focal length of 50mm, an aperture of f/1.8, and ISO 320.
Photo by George Sistonen · View Photo
Best beginner DSLR cameras
There’s no such thing as “the best” DSLR camera, as every photographer has different needs. With that being said, here’s a quick look at three cameras that consistently rank among the top choices for beginner photographers.
Canon Rebel SL3
Known for its small, lightweight build, this camera from Canon packs a powerful punch with a 24.2-megapixel sensor. The Rebel SL3 comes with a Feature Assistant to help you learn advanced features as well as a Shooting Mode Guide for easy access.
Plus, you can operate almost every feature while looking through the optical viewfinder. The Rebel SL3 also has a touchscreen, so it’ll be familiar to those used to shooting on their phones. Oh, and it can shoot 4K video.
Nikon D3500
This camera from Nikon offers something extra to help you learn the ropes: Guide Mode, which walks you through different camera modes and options. With a 24.2-megapixel sensor, it delivers fantastic image quality for an affordable price. It’s also light and portable (with a long battery life!), so it won’t weigh you down. In the end, the D3500 combines the ease of a point-and-shoot with the power of a DSLR.
Pentax K-70
Designed primarily for outdoor, nature, and landscape photographers, this 24.2-megapixel camera from Pentax is both compact and rugged, so you can take it anywhere. The K-70 also comes with features you normally wouldn’t find on an entry-level camera, like super-high-sensitivity shooting at ISO 102400, in-body image stabilization, and a dust-proof, weather-resistant body. If you plan to shoot in low light or venture into the wilderness, the K-70 is probably your best bet.

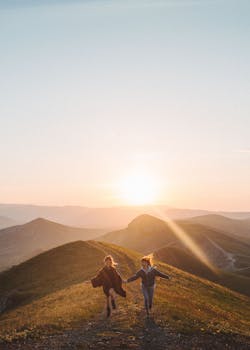
Evie Shaffer made this picture with the Nikon D750, using a focal length of 24mm, an aperture of f/4.0, and ISO 1000.
Photo by Evie Shaffer · View Photo
Tips for getting started
Rent or buy used
Before investing in your first DSLR, rent or borrow. You can also try mirrorless cameras if you prefer their lightweight builds and silent shutters. Online stores like MPB.com and KEH Camera offer excellent used gear for affordable prices, and most local camera shops have extensive rental departments. Try a few options to see what works best for you.
Upgrade from your kit lens
Lenses are just as important as camera bodies, and there’s no reason to limit yourself to the lens that came with your camera. Kit lenses are useful in the beginning, but they’re usually inexpensive zoom lenses designed for general versatility rather than any specific style of photography.
You can start to branch out by investing in a solid prime lens, which will generally deliver higher optical quality than a zoom, or renting a few different options. As you find your style and niche, you’ll then be able to add more lenses to your collection, perhaps a wide-angle for interiors or a telephoto for wildlife.
Practice and experiment
The best camera advice we can give is to use what you have available. It might not be the latest and greatest, but it will help you learn and improve. If you don’t have a fancy DSLR, don’t let that keep you from shooting.
Photograph as much and as often as you can, and try as many different modes as you can. Nothing will give you a better understanding of your camera than actually getting out there and putting it to good use. If you make mistakes, even better—that’s part of the learning process. (And hey, you can always touch things up in post-processing.)
Keep your eye on the ball
This is the number one tip photography mentor Tom Ang gives his students, and it also ties back to the importance of practicing. Controlling your camera settings will become second nature over time, and when it does, it’s time to trust your instincts and turn your focus away from the camera and onto your subject.
“Concentrate and keep your attention on what's in front of you, what’s in the viewfinder, as well as what's going on in your head and heart,” the author tells us. “The corollary is: do not chimp, i.e. do not CHeck IMage Preview. Think of people looking down at their rear LCDs going ‘Ooo, ah.’ That's chimping: eyes glued to the screen while life is carrying on without you. Instead, stay present in the moment.”
Cover photo by Michael Dupuis.

